Now let’s move on to the camera settings. A short note first: if any of the following terms are new to you, you will certainly find them in your camera’s manual (a very powerful book that is well worth reading!). I am assuming a DSLR or mirrorless camera with interchangeable lenses. You should also have suitable software available (Photoshop, PS Elements, Lightroom, GIMP, etc.; MS Paint won’t get you very far) and shoot in the RAW format.
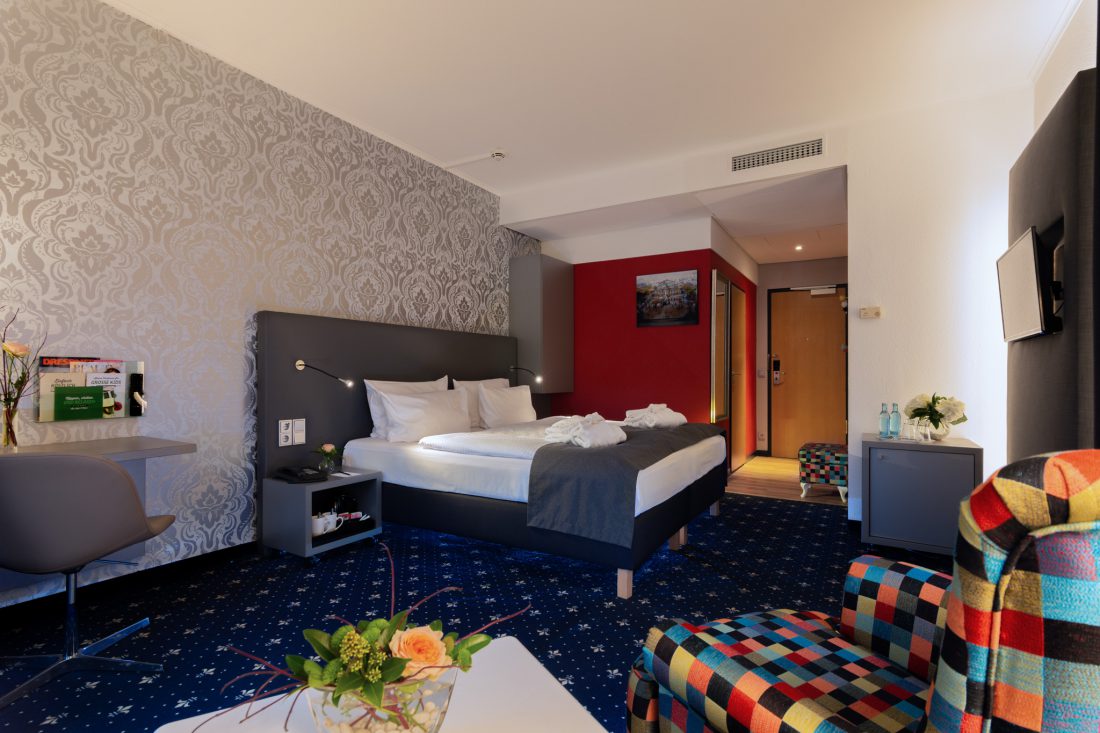
To begin with, it is advisable to select the lowest possible ISO sensitivity in order to prevent excessive image noise, especially in the darker parts of the image. It also helps preserve more detail. For this example, I assume ISO 100. In addition, I use an aperture of f/8. Since wide-angle lenses naturally provide a large depth of field, it is rarely necessary to choose the smallest possible aperture. The focus is set to infinity. In normally lit interiors, this should result in a shutter speed of about half a second (plus or minus). A longer exposure is perfectly fine, but significantly shorter than 1/30 second should be avoided, otherwise the light from the lamps (and the atmosphere it creates) will not come through properly.
Since my camera can capture a relatively high dynamic range, I often choose aperture priority mode (Av). In this mode, I fix the aperture and let the camera determine the shutter speed, provided the exposure sensor is not pointed directly at a daylight window. I also apply an exposure compensation of –1 stop. This means the photo will initially appear slightly underexposed, but darker areas often retain more detail that can later be brought out in software. Overexposed areas, on the other hand, are often irreversibly blown out and contain no image information at all.
However, when the contrast between light and dark becomes extremely large, this approach reaches its limits. In such cases, it is better to take a bracketing series covering at least four stops and later apply HDR (High Dynamic Range) processing.