There’s a widespread belief that my job is simply a matter of showing up and pressing the shutter. But step four is by far the most time-consuming. And the following explanation makes it clear why that’s not the case.
This step is about composing the image. The lighting has been addressed. The perspective has been chosen, and with it the framing of the shot. If we have already followed basic compositional principles (such as symmetry or the golden ratio) when selecting the perspective, the next task is to arrange the objects within the scene. Just as models for fashion photography need to be styled with makeup and hair, an interior photograph must be carefully prepared before the shot is taken. Creative design now goes hand in hand with a fair amount of physical work.
To prevent a photo from looking chaotic, distracting elements have to be removed or rearranged. Sometimes additional objects can even be added. Items often need to be moved around so they fit the composition. It’s not uncommon for objects to appear perfectly placed when viewed through the viewfinder or display while in reality they stand in positions that would make little practical sense. But that doesn’t matter. After all, the goal is to prepare a strong image. And everything can be put back where it belongs afterward.
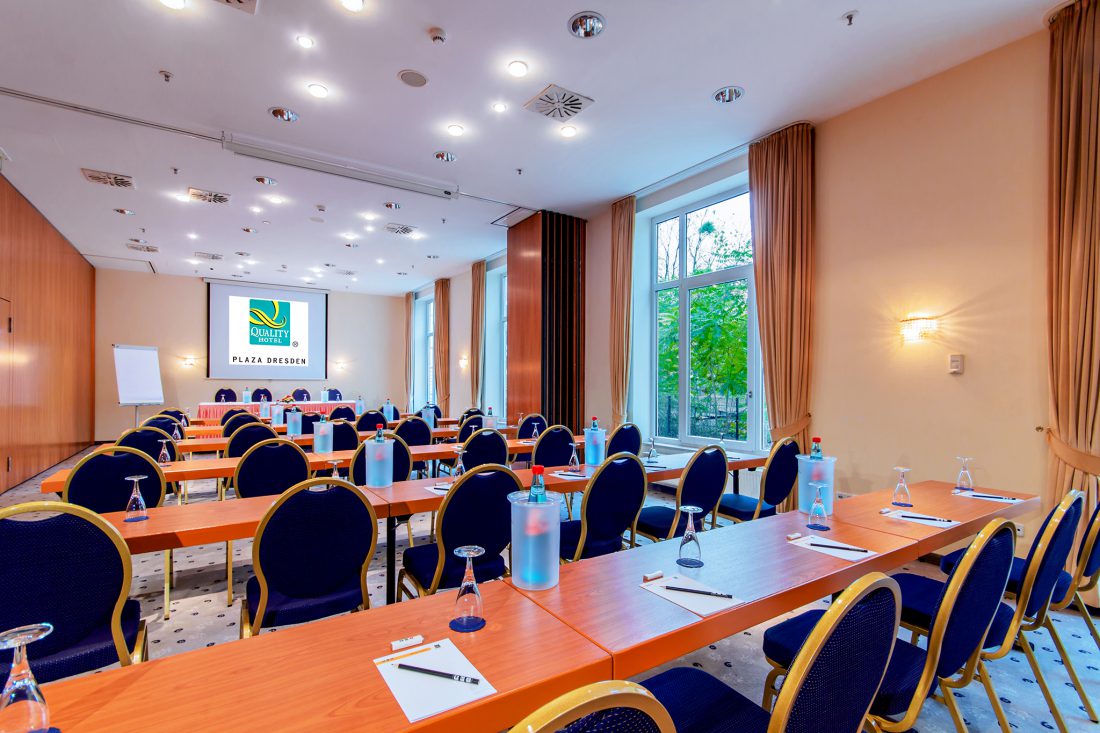
Furniture is moved back and forth as well. Again and again, I walk back to the camera to check whether the lines of a row of tables and their decoration align properly, or whether the positions of chairs, armchairs, pillows, and other accessories create a pleasing visual impression. This is true fine-tuning, and it benefits from a certain love of detail. And of course, the larger the room and the more elaborate the setup, like banquet seating, the longer the process takes. Sometimes up to two hours, just to arrange a single shot.